How the Cub Bear Was Made
He started as three circles on a page. Here is everything that happened next, in the order it happened, with nothing skipped.
For the child watching
Three little films. In the first one she draws him. In the second one she paints him. In the third one he stands up and turns around.
For the grown-up watching
Every app named on this page is either free or costs less than a hardback book, and every one of them runs on an ordinary laptop or an iPad. None of this needs a studio.
Sketching the cub
1 min 20
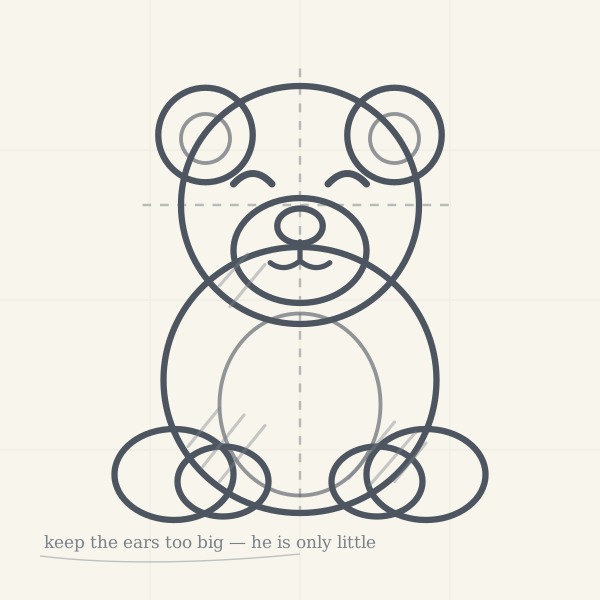
Every cub starts as circles. One for the head, a bigger one for the body, two small ones for the ears, pushed around the page until the proportions feel right, long before a single line of the finished drawing exists. In the film you can watch her redraw the same ear eleven times, and then keep the first one.
Watch her draw the same ear again and again until it is right.
Look for the moment she makes the ears too big on purpose. That is what makes him look little.
Read what she says
I always start with circles, because a circle is easy to move and a face is not.
This one is the head. This bigger one is the body. He is a cub, so the head wants to be nearly as big as the body — that is the whole trick with baby animals.
Now the ears. Ears are where the character lives. Too small and he looks grown up. Too big and he looks like a rabbit. So I move them, and I move them again.
I keep every version on a separate layer, so nothing is ever really lost. Then I turn the rough ones down until they are just a whisper, and I draw the line I actually want on top.
Colouring the cub
1 min 45
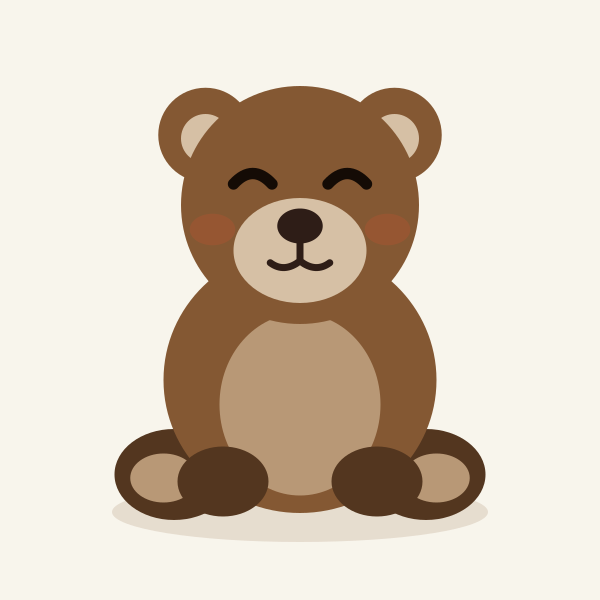
The colour goes on underneath the drawing, not on top of it. Flat shapes first, one per part of the body, each on its own layer. Only when all the flats are down does she start adding the warmth: the light on the top of his head, the pink coming through his ears, the small amount of orange in his cheeks that makes him look alive rather than printed.
The brown goes on first. The warm light on his head goes on last.
Watch what happens to his face the moment she adds the two little orange cheeks.
Read what she says
Colour goes underneath. That way the line stays crisp and I can change my mind about the brown forty times without wrecking the drawing.
Flats first. One shape for the body, one for the muzzle, one for each ear. No shading at all yet — I want to see whether the shapes read before I make them pretty.
Now the light. He is sitting in a clearing at the end of the day, so the warm light is coming from above and slightly to the left. Top of the head, top of the ears, the top curve of his back.
And the cheeks. Two soft orange ovals, very low opacity. It is almost nothing, and it is the difference between a shape and a bear.
The cub in 3D
2 min 30
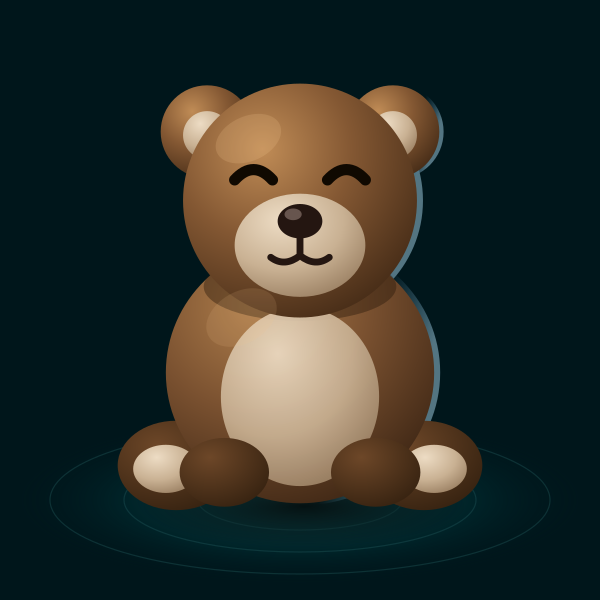
The 3D cub is not a new drawing. It is the same cub, rebuilt out of spheres so he can be turned around and lit from any direction, which means he can appear on a mug, on a poster, or facing the other way in the next book, without anyone redrawing him. The whole model is made from about twelve primitive shapes and a single soft key light.
Now he can spin around, and you can see the back of his head.
Watch the blue light along his back. That is a second lamp behind him, and it is what stops him looking flat.
Read what she says
This is the same bear. Nothing new has been designed. I have just rebuilt him out of balls.
A sphere for the head, a bigger sphere for the body, two for the ears, four for the paws. Squash them, pull them about, and he is there.
Lighting is where it gets interesting. One warm key light up and to the left, doing all the work. One cool rim light behind him, doing almost nothing — except it draws a thin blue edge along his back, and without it he would look like a sticker.
And now he turns. Which means the next book can have him facing left, and I do not have to draw him again.
The person who drew him
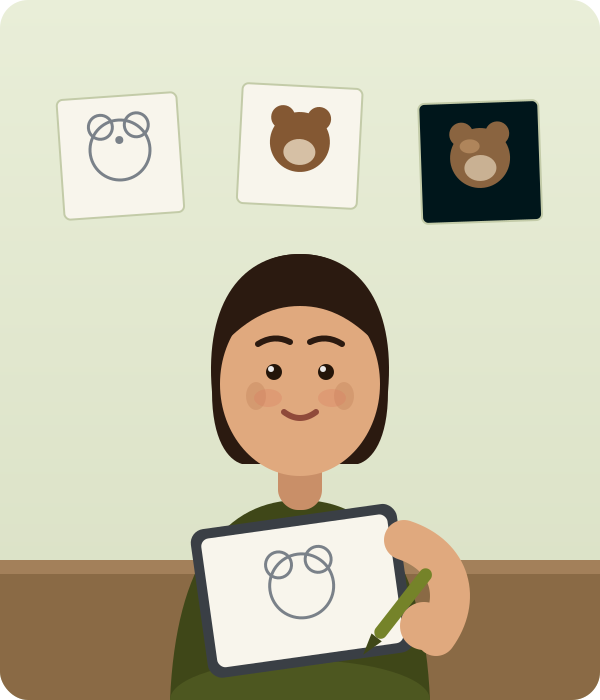
Maren Ostlund has been drawing animals for eleven years and still cannot draw a horse. She made the cub bear on an iPad, on a kitchen table, in about three weeks.
Her page lists every application she used, what each one actually did, and what it costs — because the honest answer is that most of it is free, and a child who wants to try this can start this afternoon.
Placeholder films
The three films are supplied during the build. Each one slots into the frame above it, at the runtimes shown, with captions and a transcript already in place.